Share this
How to create a restaurant website with Ordering.Co?

The simple guide to know how to create a restaurant website with Ordering.Co.
Listed below are some easy guided steps that you can check, to create a restaurant website using
Ordering.Co:
The leading online ordering website provider, since 2012
Step 1: Understanding your business requirements.
The first and foremost step is to know your business requirements, i.e., what kind or restaurant ordering services you need to provide online. How you need to present it online. What ordering platforms you need to provide to your online users, in how many locations you need to offer your services & how you need to appear your system (Looks, designs, etc.)
BUSINESS REQUIREMENTS-BASIC IDEA'S
Step 2: Choose & pay for a package from our pricing page, accordingly.
After finalizing requirements, choose & pay for any of our packages. We have a wide range of packages options to choose from, and our minimum basic package starts from 79 USD per month without any set-up fee + Unlimited FREE stuff like hosting, support & updates, extensions credits, business consulting, etc.
ANALYSE OUR PACKAGES & PRICING
Step 3: We install your system in less than 24 hours.
Choosing your right package, We help you install your system in less than 24 hours, and send your system website link followed by your dashboard & builder login details. The email also contains some necessary information, that you need to get started ASAP.
Step 4: Add your Business/restaurants general information’s & products.
Log in to your system dashboard/admin panel, Under ” My store,” add your business/restaurant necessary information, like name, address contact information, etc., add your business/restaurant category & products, add images to your product with details & pricing.
Step 5: Set your restaurants delivery preferences & prices.
Setup your delivery preferences per zone, kilometers or on the map, it’s that easy to set up your delivery zones using a polygon on the map and add its relative prices per distance and location.
Step 6: Set your business menu & schedule.
Manage your business/restaurant opening & closing time preferences along with your menu, i.e., Menu for breakfast, Menu for lunch or Menu for dinner, and set up its products details with time.
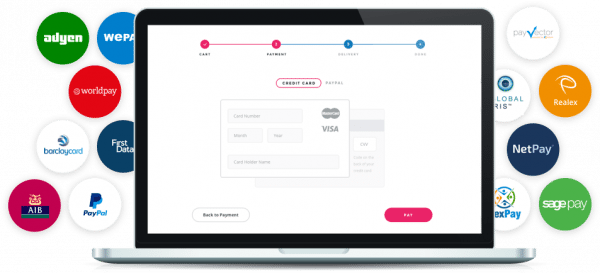
Step 7: Setup your payments gateways.
Setup your payments gateways preferences that you need to enable on your website so that your customers can pay online using their credit/debit cards or through COD per their own choices.
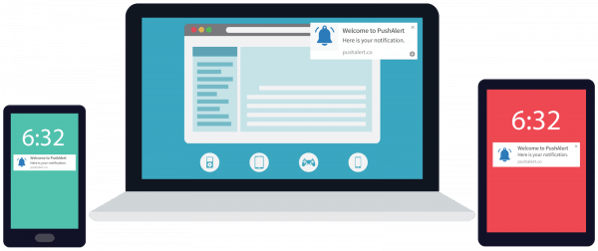
Step 8: Setup your system notification system.
Most important, setting up your notification system to get notification alerts when an order placed, also synchronize your email address to get email alerts, so you don’t miss any requests.
Step 9: Setup your mobile apps.
In less than five working days, your native mobile apps will be ready to launch online, with your brand and logo and we take care of that stuff, you don’t have to worry.
Step 10: You’re ready to launch your restaurant website.
You’re restaurant/business website is now ready to get started and take orders online live, it’s that easy.
Are you ready to get yours?
Get started now by signing up with a plan as per your business needs
Topics:
Solutions and Use Cases
Share this
- February 2026 (5)
- January 2026 (12)
- December 2025 (7)
- November 2025 (1)
- October 2025 (4)
- September 2025 (10)
- August 2025 (10)
- July 2025 (7)
- June 2025 (9)
- February 2025 (1)
- January 2025 (2)
- December 2024 (2)
- April 2024 (1)
- January 2024 (1)
- December 2023 (3)
- November 2023 (15)
- May 2023 (21)
- April 2023 (8)
- March 2023 (5)
- February 2023 (67)
- January 2023 (156)
- July 2022 (20)
- June 2022 (60)
- April 2022 (2)
- February 2022 (17)
- January 2022 (26)
- December 2021 (15)
- November 2021 (9)
- October 2021 (1)
- June 2021 (1)
- May 2021 (3)
- March 2021 (5)
- February 2021 (5)
- November 2020 (5)
- October 2020 (1)
- September 2020 (2)
- July 2020 (1)
- February 2020 (1)
- May 2019 (3)
- April 2019 (3)
- March 2019 (1)
- January 2019 (11)
- November 2018 (1)
- September 2018 (4)
- August 2018 (4)
- July 2018 (6)
- June 2018 (4)
- May 2018 (18)
- April 2018 (10)
- March 2018 (9)
- February 2018 (14)
- January 2018 (19)
- December 2017 (10)
- November 2017 (10)
- October 2017 (18)
- September 2017 (12)
- August 2017 (17)
- July 2017 (5)
- June 2017 (6)
- May 2017 (2)
- January 2017 (1)


